Pre-setting your camera for likely images

My photographic origins in the underwater world have taught me the importance of thinking through the photographic objectives for a shoot (dive), and pre-setting your camera.
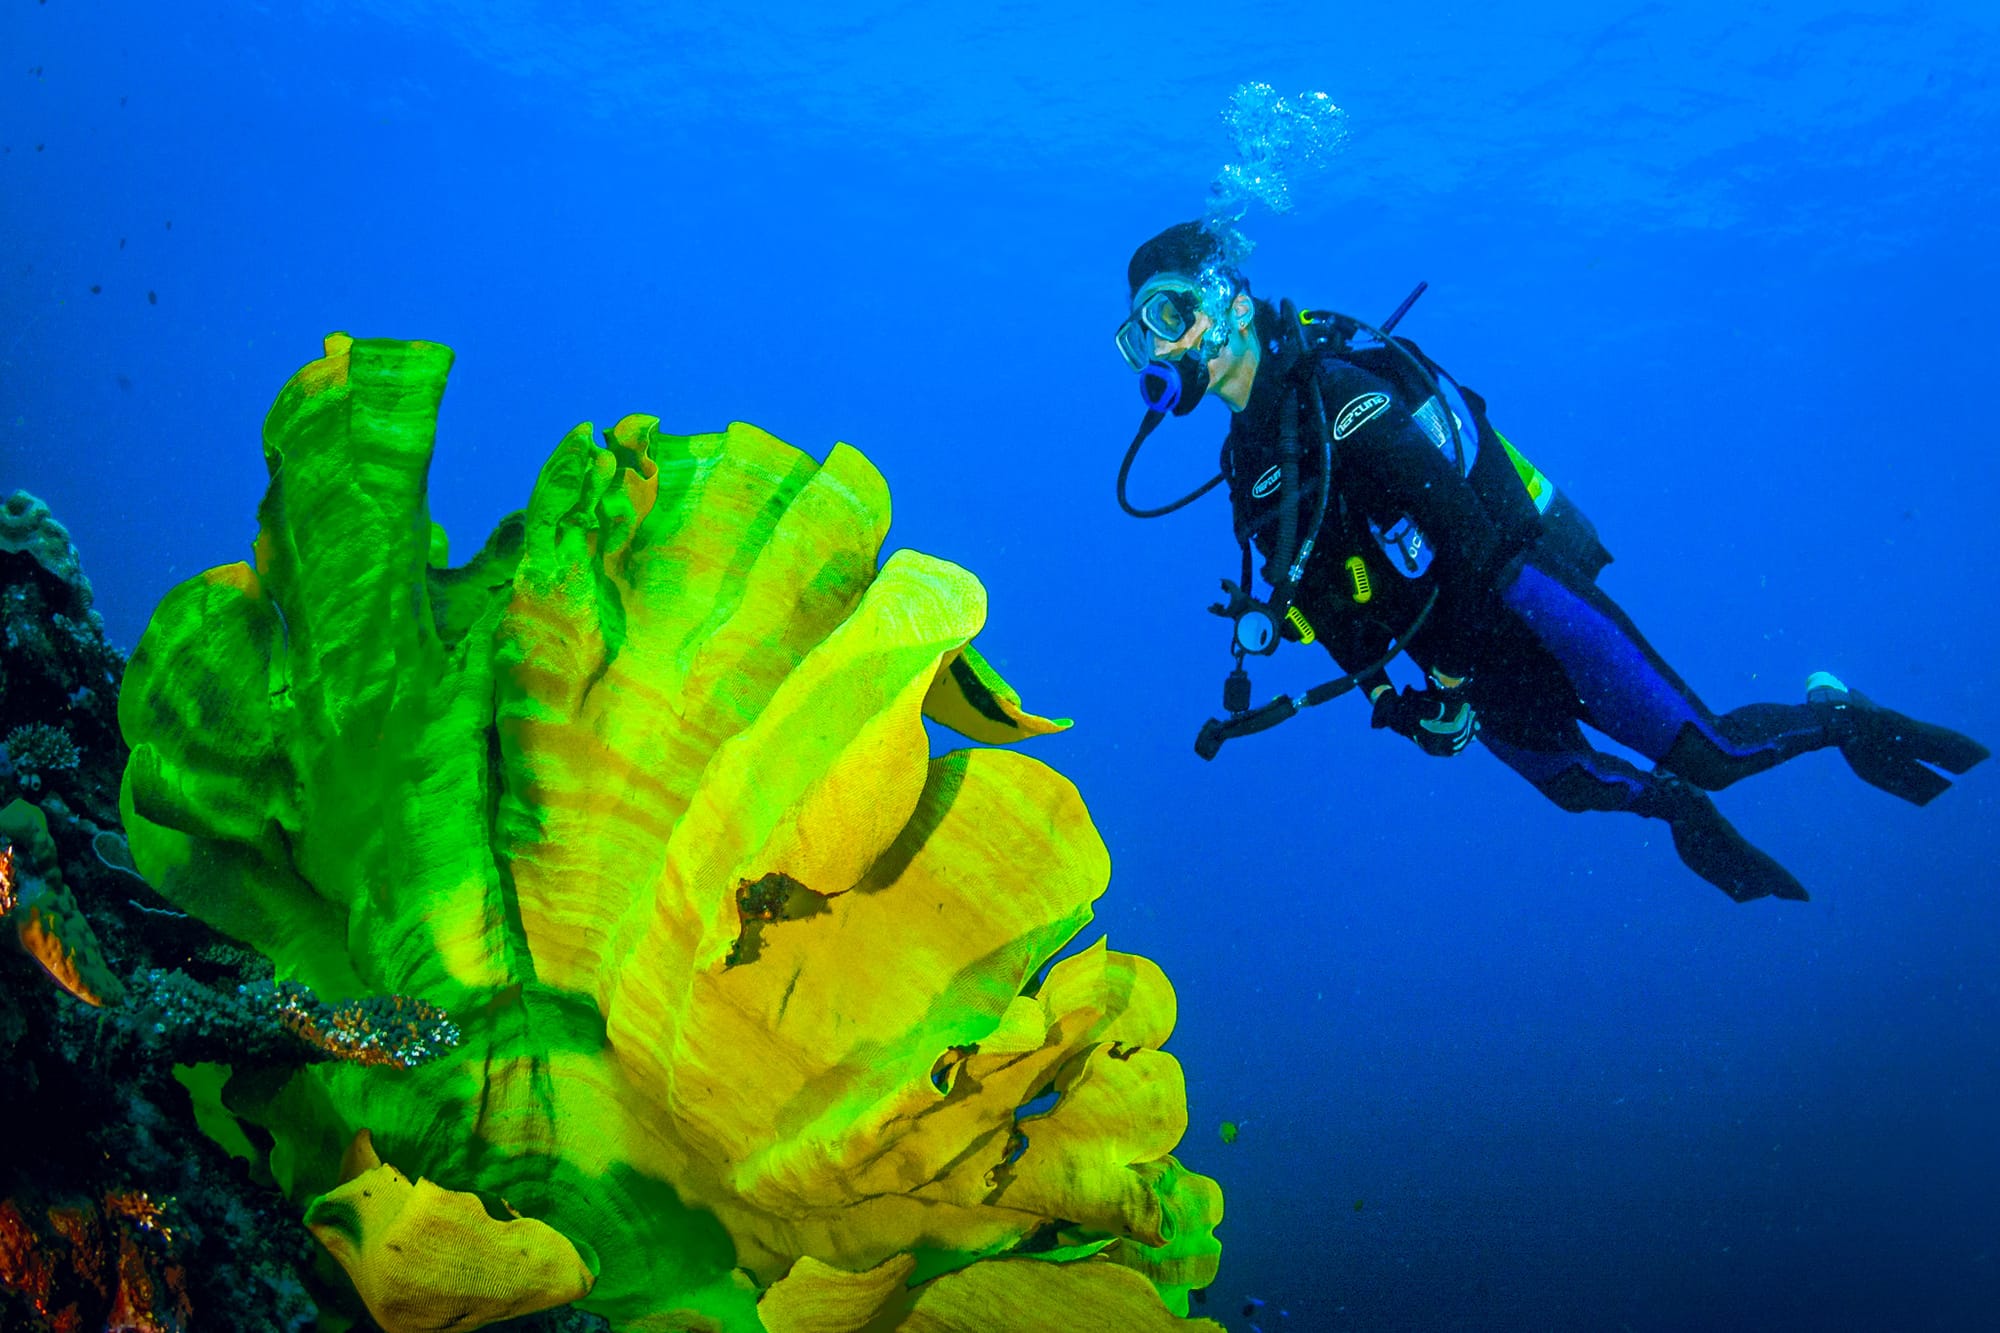
In underwater photography one key mantra is to get close – minimising the amount of water between subject and your camera1.
For this reason, and the fact that lenses cannot be changed underwater2, most UW photo situations revolve around one of a small number of basic setups.
- Wide angle lenses that allow the photographer to get close to large subjects.
- Close up lenses that get the photographer close to small subjects.
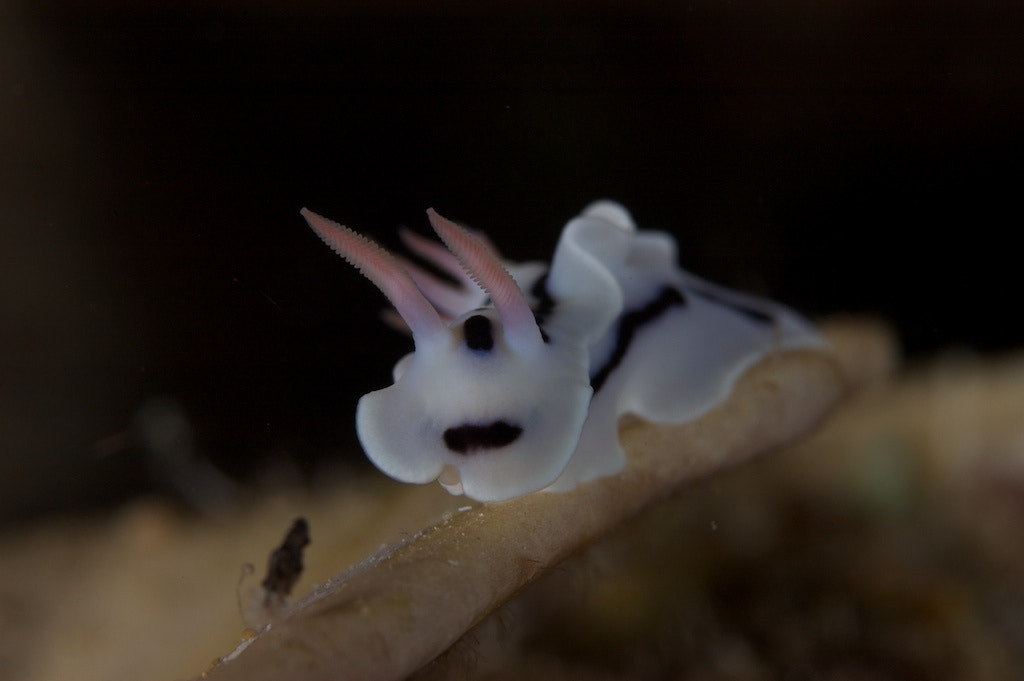
- Macro lenses that allow images to be made of small to extremely small subjects.
In reality a good macro lens is also a very capable close up lens, further reducing the number of setups to just two.
Before a dive I spend time setting up my camera rig for the setup – not just the lens and ports, but also choosing strobe (flash) arms and getting everything about right for the dive. I make sure that I have a formatted
As I became a more experienced UW photographer it dawned on me that I could extend the preparedness concept to include camera settings. In each different style of photography I could reasonably anticipate the settings, and then prepare accordingly, saving the need to fiddle with adjustments underwater. The following table shows some examples of common pre-sets that I use:
| Macro | Close-Up | W/A – Reef/People | Big Fish, Moving Fast | |
|---|---|---|---|---|
| Lens | 30mm | 30mm | 7-14mm zoom | 7-14mm zoom |
| Port | Flat | Flat | Dome | Dome |
| Strobes | 1-2 | 1-2 | 1-2 | 0-2 |
| Arms | Short | Short-Medium | Long | Long |
| Camera Mode | A | A | A | S |
| Likely Aperture | f/16-f/22 | f/11-f/16 | f/5.6-f/11 | N/A |
| Likely Shutter Speed | N/A | N/A | N/A | 1/125–1/500 |
| ISO | 200 | 200 | 200-400 | 200-400 |
| Strobe Power | ¼-½ | ¼-½ | ¼-½ | ½–Full |
Before I enter the water with a close up / macro right, then I will likely preset as follows:
– Shutter mode: Aperture Priority (A)
– Aperture: f/16
– ISO: 200
– Strobes: ½ power
With this setup, any changes for the first subject scene I come across are likely only to be a click or two on a dial or two. I have similar checklists for my wide angle photo scenes.
The concepts extends to my topside photography:
| Landscape | Seascape | Street | |
|---|---|---|---|
| Lens | 12-60mm | 8-18mm | 20mm |
| Mode | A | A | A |
| Starting Aperture | f/8 | f/11 | f/6 |
| ISO | 200 | 200 | 400 |
| Image Stabilisation 3 | Off | Off | On |
Obviously the above table can (and should) be extended to different lighting situations – blue hour, golden hour, daylight, night, etc.
I hope this post seeks to provide some insight into how I think about my photography before a shoot. There are variations to the above, and equipment, shooting genre, artistic style, etc, should all influence how you pre-set.
In any case, thinking ahead and creating simple checklists including these settings and perhaps a reminder to have a formatted memory card, fresh battery and even to check the camera’s date and time settings, can help to allow you to focus on your photography when on a shoot.
- Water filters light, removes colour and refracts light in a way that causes a subject to lose sharpness and colour, as well as adding gunk (technical) terms that further kills the quality of an image. ↩
- There are some low quality or super-expensive rigs that do allow changing of lenses, but the majority of setups do not. ↩
- For landscape and seascapes I am generally shooting on a tripod or clamp, so stabilisation should be off, while shooting handheld (i.e. street) stabilisation should be on. ↩